End-of-Season RV Maintenance: What to Check Before Storage
RV Maintenance Checklist Before Seasonal Storage
Preparing your RV for storage takes more than parking it, closing the door, and waiting for the next trip. A careful end-of-season inspection can uncover windshield damage, leaking windows, low tire pressure, weak batteries, plumbing concerns, and other problems before months of inactivity make them worse.
Use this checklist for your motorhome, camper, travel trailer, or fifth wheel before placing it into short-term or seasonal storage. Every RV is different, so follow your owner’s manual for model-specific procedures involving batteries, plumbing, appliances, slide-outs, and winterization.
1. Inspect the RV Windshield for Chips & Cracks
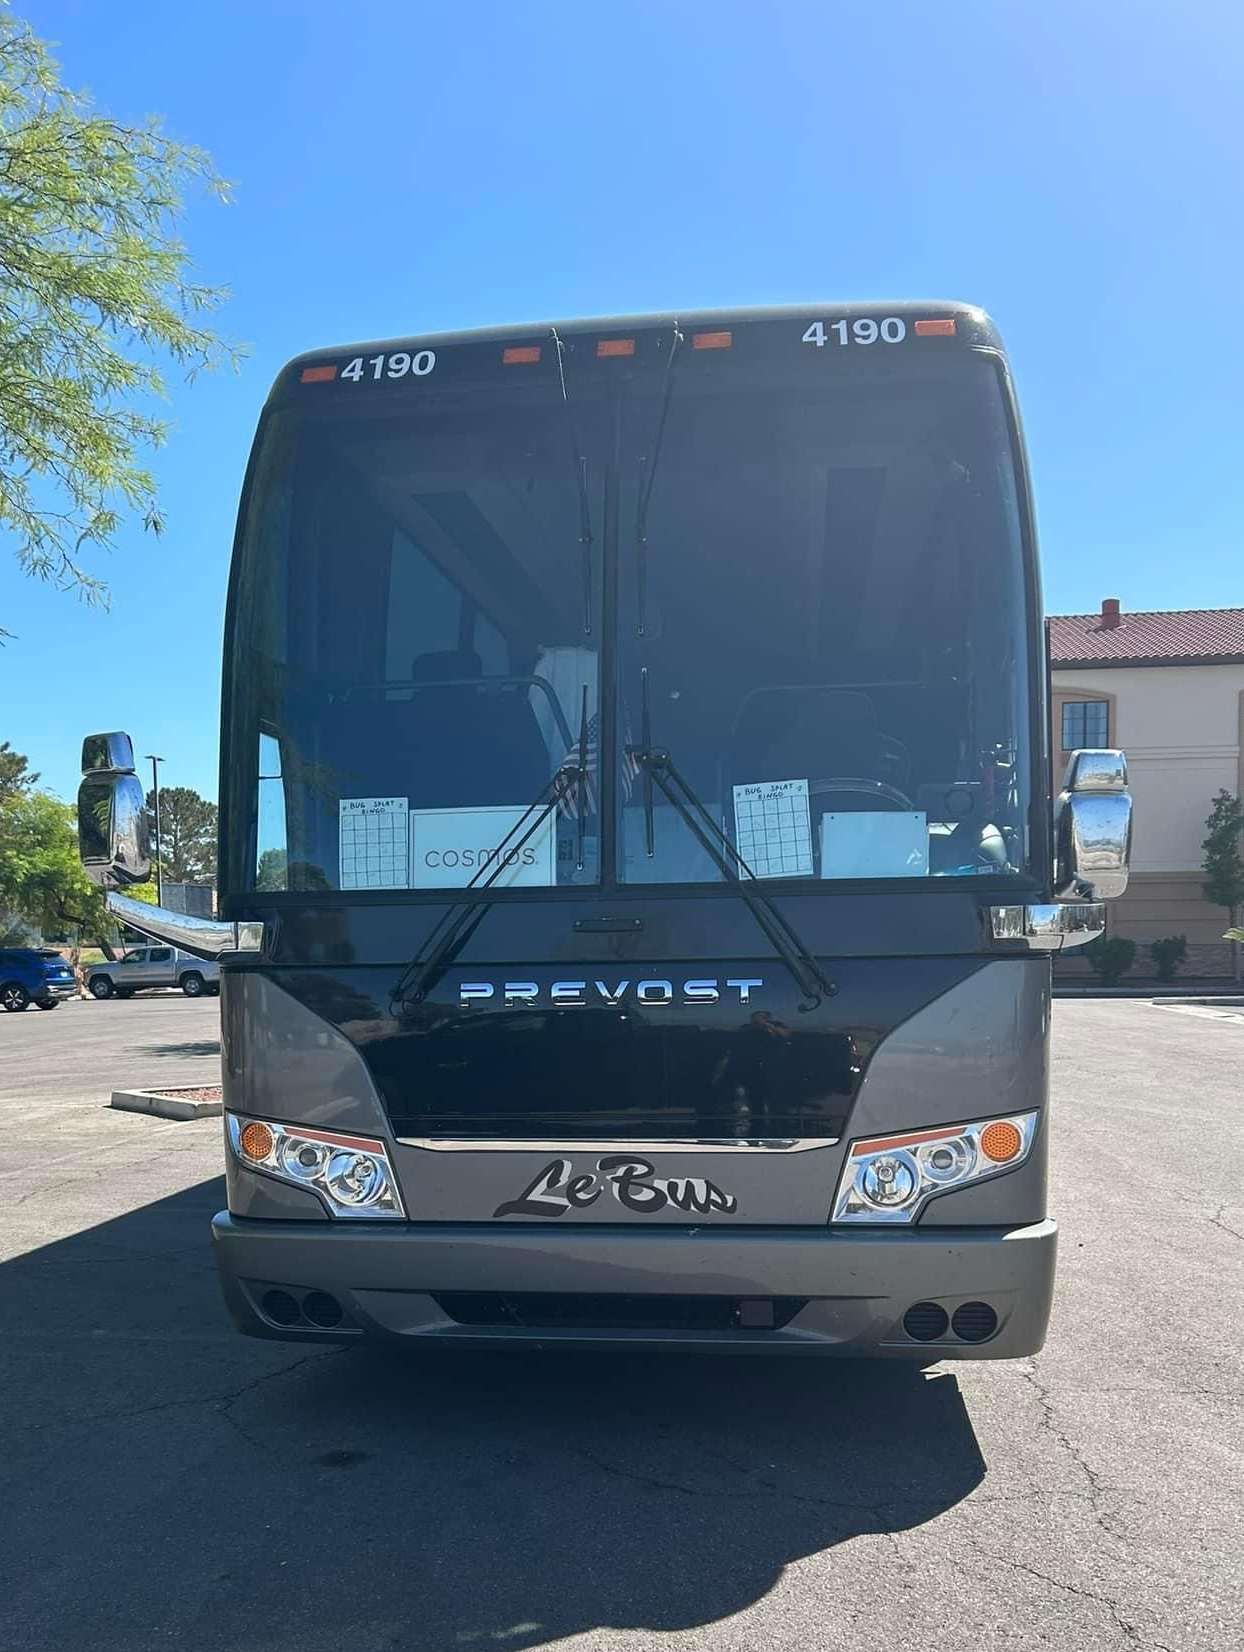
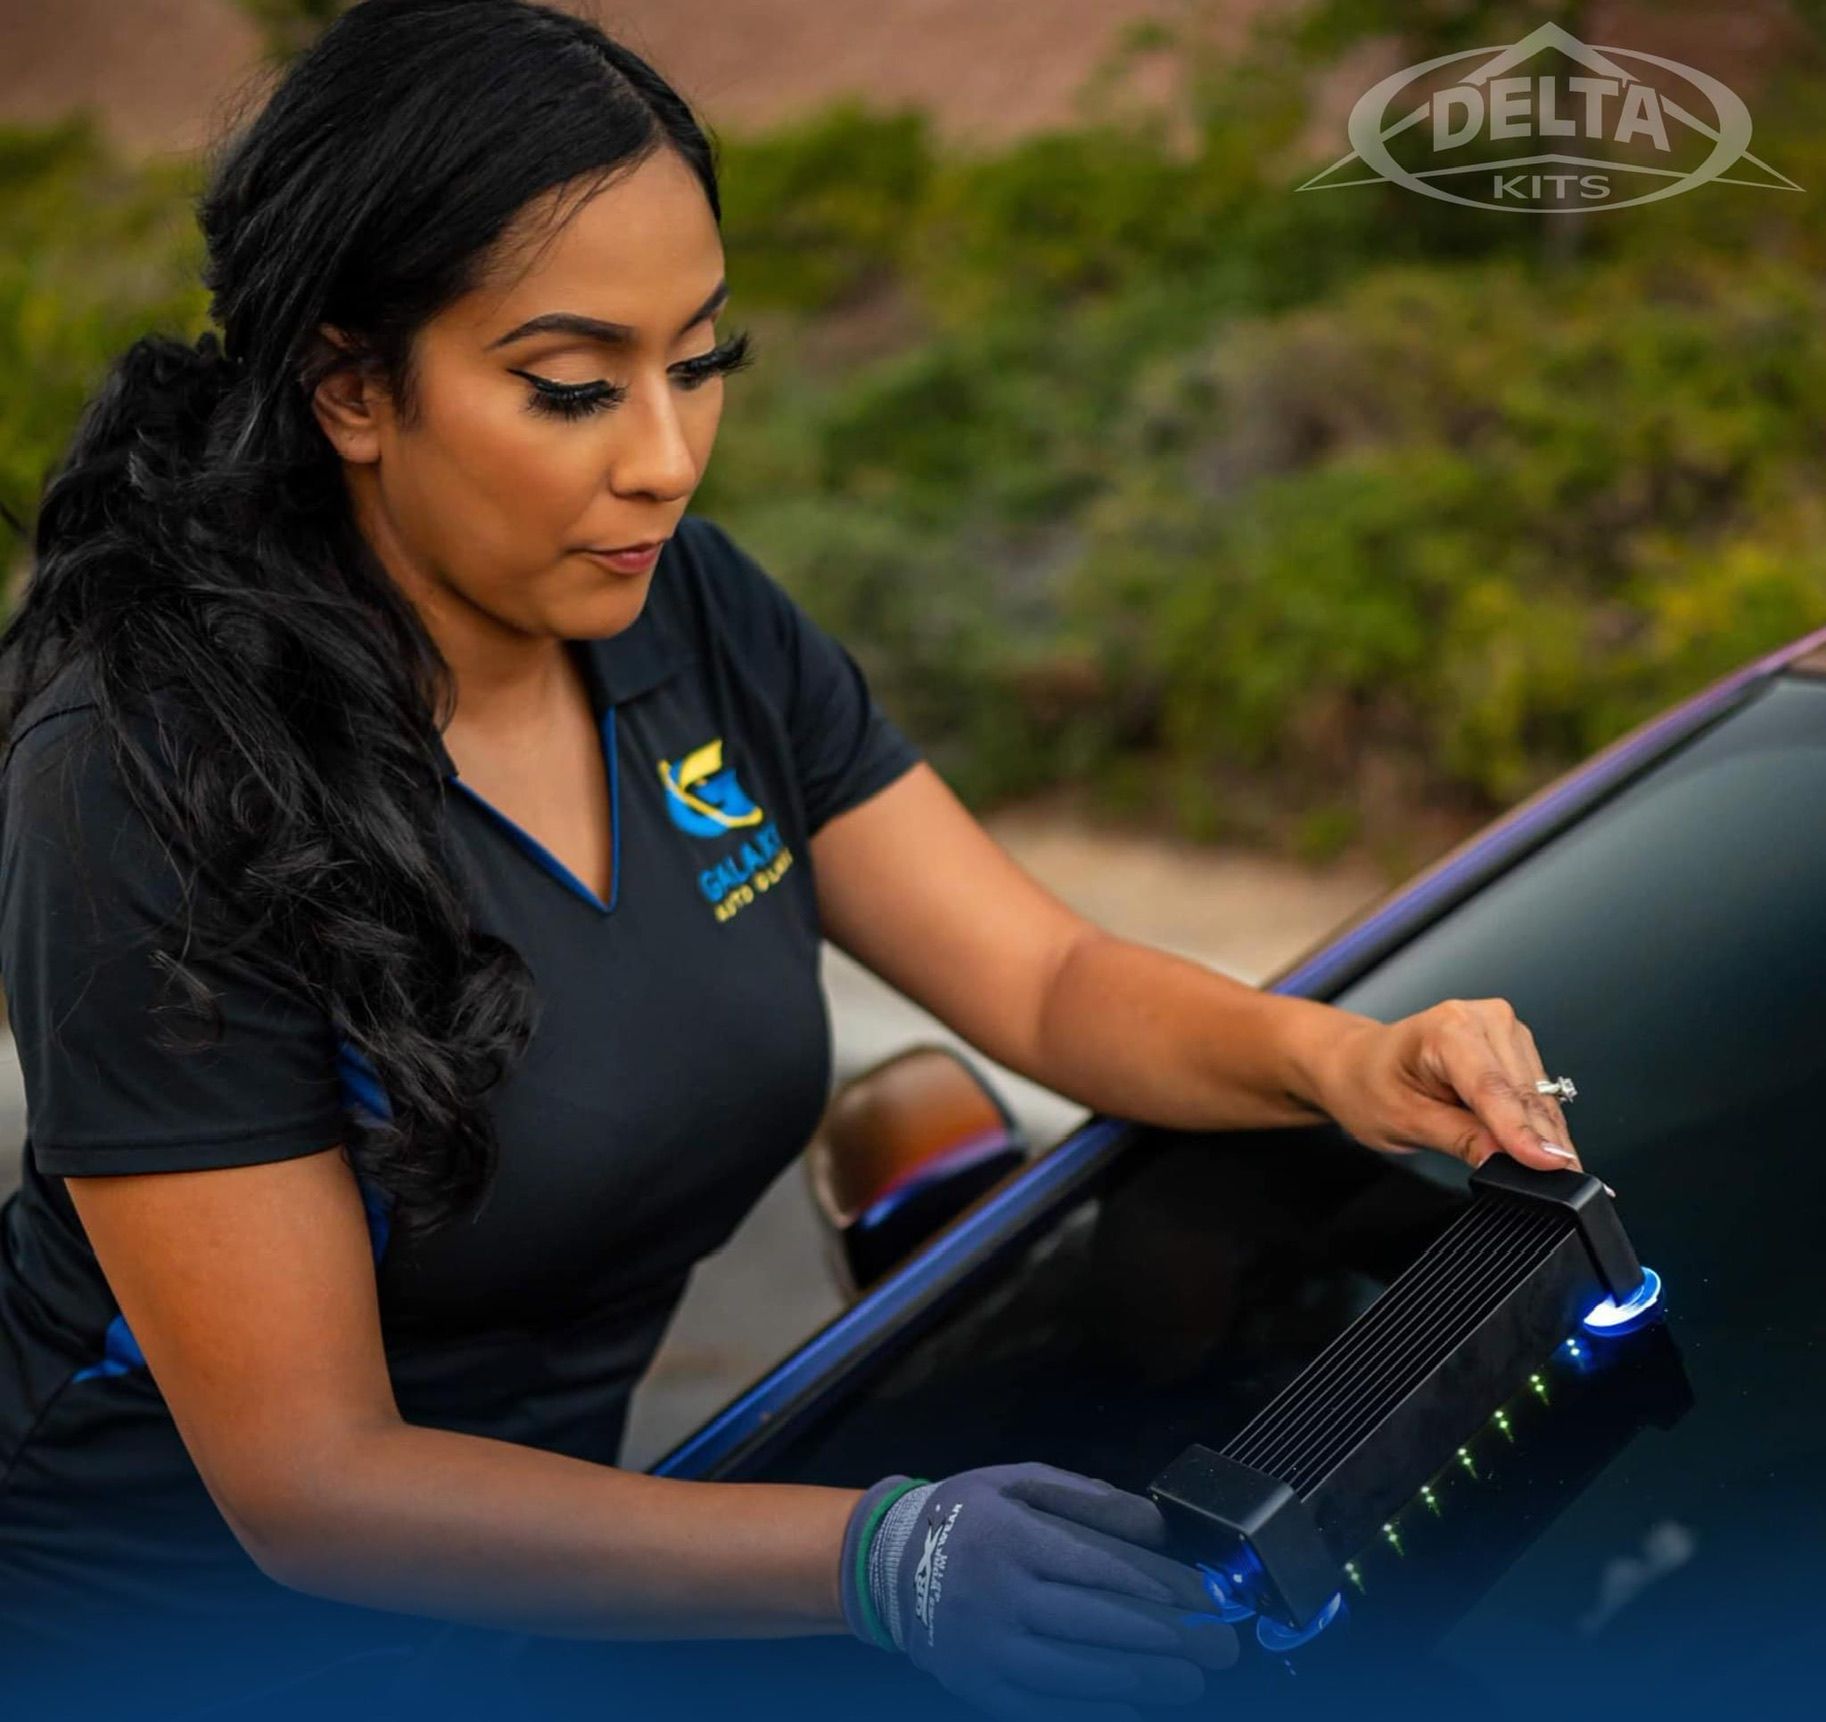
Inspect the entire RV windshield in good light and look from both inside and outside. Check for rock chips, short cracks, edge damage, pitting, and impact marks that could be difficult to see through dust or glare. Pay particular attention to damage near the windshield edge and directly within your normal viewing area.
A small chip may qualify for RV windshield repair if it has not spread, penetrated deeply, or reached a critical location. Larger cracks, severe impacts, and broken glass may require RV windshield replacement. Motorhomes can use one-piece or split windshields, so the correct service depends on the damage and the coach design.
Do not assume a minor chip will look the same after months of storage. Temperature changes and stress around existing damage can allow a crack to spread. Scheduling RV windshield repair and replacement before storage also means the RV can be ready when your next travel season begins.
2. Check RV Side Windows & Glass
Walk around the RV and inspect each side window, door window, emergency-exit window, and fixed pane. Look for cracks, shattered corners, loose glass, separation from the frame, trapped moisture between panes, and windows that no longer open or close correctly.
Check the interior around every window as well. Water stains, damp wall coverings, discoloration, soft materials, or musty odors may point to a leak that is not obvious from outside. Open and close operable windows carefully, then verify that latches and emergency-exit mechanisms still work as intended.
Broken or unstable glass should be addressed before the RV sits unattended. RV side window replacement can restore security and weather protection while preventing an exposed opening from admitting dust, moisture, insects, or pests during storage.
3. Look for Leaks & Deteriorating Window Seals
Window seals and sealant can dry, crack, pull away, or lose adhesion over time. Inspect the perimeter of each window for visible gaps, brittle material, peeling sealant, or areas where the frame no longer appears tight against the RV body.
A leak may involve the glass, frame, seal, or surrounding RV structure, so finding moisture does not automatically identify the repair. Document where you see staining or dampness and take clear photos before cleaning the area. If glass replacement is needed, the technician should know about any leak history or visible frame concerns.
Keep glass service and structural leak repair clearly separated. Galaxy Auto Glass can evaluate damaged RV glass and window replacement needs, but deteriorated body seals or water-damaged wall materials may also require an RV repair facility.
4. Inspect Tires & Check Pressures
Check every tire, including the spare, for low pressure, uneven wear, cuts, bulges, cracking, and objects embedded in the tread. Measure pressure while the tires are cold and use the specifications supplied for your RV and tires rather than guessing from appearance.
Long periods of outdoor storage expose tires to sunlight and weather even when the RV never moves. Tire covers can help reduce direct UV exposure. The storage surface, RV weight, and manufacturer recommendations may also affect how the vehicle should be positioned, so consult the owner’s manual before using blocks, supports, or leveling equipment for long-term storage.
Resolve questionable tire conditions before the next trip. Storage is not a repair, and a tire that is already damaged will still be damaged when you return.
5. Check the Roof Vents & Exterior Seals
Inspect the roof, vents, air-conditioner openings, doors, exterior seams, and utility penetrations for visible gaps or damaged sealant. Water entering through a small opening can remain unnoticed during storage and create staining, odors, mold, or material damage.
Do not climb onto the roof unless the RV manufacturer identifies it as walkable and you can access it safely. You may be able to inspect portions from a ladder without stepping onto the roof, or you can have an RV service professional complete the inspection.
Close windows and roof vents according to the manufacturer’s storage instructions. If you use a cover, choose one designed for RV storage and make sure it does not trap moisture or rub against the exterior.
6. Prepare Batteries for Storage
RV batteries can discharge while the vehicle sits because monitors, detectors, clocks, and other components may continue drawing power. Check the condition and charge of both the house batteries and chassis battery before storage.
Your correct storage procedure may involve disconnecting the batteries, removing them, maintaining them with an appropriate charger, or leaving the RV connected to approved shore power. Battery chemistry and RV electrical systems differ, so follow the battery manufacturer’s instructions and your RV owner’s manual.
Inspect accessible terminals for looseness or corrosion before storage. If a battery is swollen, leaking, damaged, or repeatedly unable to hold a charge, have it evaluated instead of leaving it unattended.
7. Inspect Plumbing & Water Systems
Drain, clean, and prepare the fresh-water, gray-water, black-water, and water-heater systems according to the manufacturer’s instructions. Check visible plumbing connections, faucets, drains, valves, and exterior hookups for leaks before the RV is stored.
Winterization depends on the RV and expected storage conditions. Even in the Las Vegas Valley, colder nights or travel to a different storage area may require freeze protection. Your owner’s manual will explain whether the system should be drained, blown out, treated with RV antifreeze, or prepared through another model-specific process.
Never improvise around a pressurized or hot water heater. Allow the system to cool, release pressure safely, and follow the prescribed sequence for your vehicle.
8. Clean the Interior & Remove Food
Remove all food, drinks, trash, and other items that could spoil or attract insects and rodents. Check cabinets, drawers, storage compartments, the refrigerator, freezer, microwave, and areas beneath furniture for crumbs or forgotten packages.
Clean and dry the refrigerator, then follow the manufacturer’s storage instructions for ventilation. Vacuum upholstery and flooring, wipe down surfaces, and dry any damp materials. Depending on storage conditions, raising cushions or mattresses may improve airflow and make it easier to spot moisture.
Close off appropriate pest-entry points without blocking required safety or ventilation openings. Never cover an opening unless the RV manufacturer’s guidance says it is safe to do so.
9. Check Awnings & Slide-Outs
Extend the awning long enough to inspect the fabric, arms, fasteners, and visible hardware. Clean off debris and allow the material to dry completely before retracting it. Rolling up damp fabric can create stains, odors, and mildew during storage.
Inspect slide-out seals for tears, gaps, dirt, and deterioration. Clean the seals and moving components using products approved by the RV manufacturer. Confirm that each slide retracts fully and sits evenly before storage.
Whether slide-outs should remain retracted and whether stabilizers should be used can depend on the RV. Follow the owner’s manual rather than applying one storage method to every motorhome or trailer.
10. Take Care of Needed Repairs Before the RV Sits
Storage can hide a problem, but it does not stop that problem from getting worse. Make a written repair list as you inspect the windshield, windows, roof, tires, batteries, plumbing, awnings, and slide-outs. Add photos and model information so you can obtain accurate service recommendations.
Prioritize anything that affects weather protection, security, electrical safety, plumbing, or the RV’s ability to return to the road. Address open windows, active leaks, damaged tires, weak batteries, and standing water before storage whenever possible.
Completing repairs now also reduces the work waiting for you at the start of the next season. Instead of opening the RV to the same unresolved damage, you can focus on cleaning, loading, and planning your next trip.
Schedule RV Glass Service in the Las Vegas & Henderson, NV Area
Galaxy Auto Glass provides mobile and in-shop RV glass service throughout the Las Vegas and Henderson, Nevada, area. If you find a windshield chip, cracked motorhome windshield, broken side window, or damaged RV glass, request a free quote before placing the vehicle into storage.
Our team serves RV owners in Las Vegas, Henderson, Boulder City, and Summerlin with certified technicians, free mobile service, and appointments at our Las Vegas and Henderson shops. Send us the RV year, brand, model, location of the damaged glass, clear photos, and service address so we can help identify the appropriate repair or replacement.